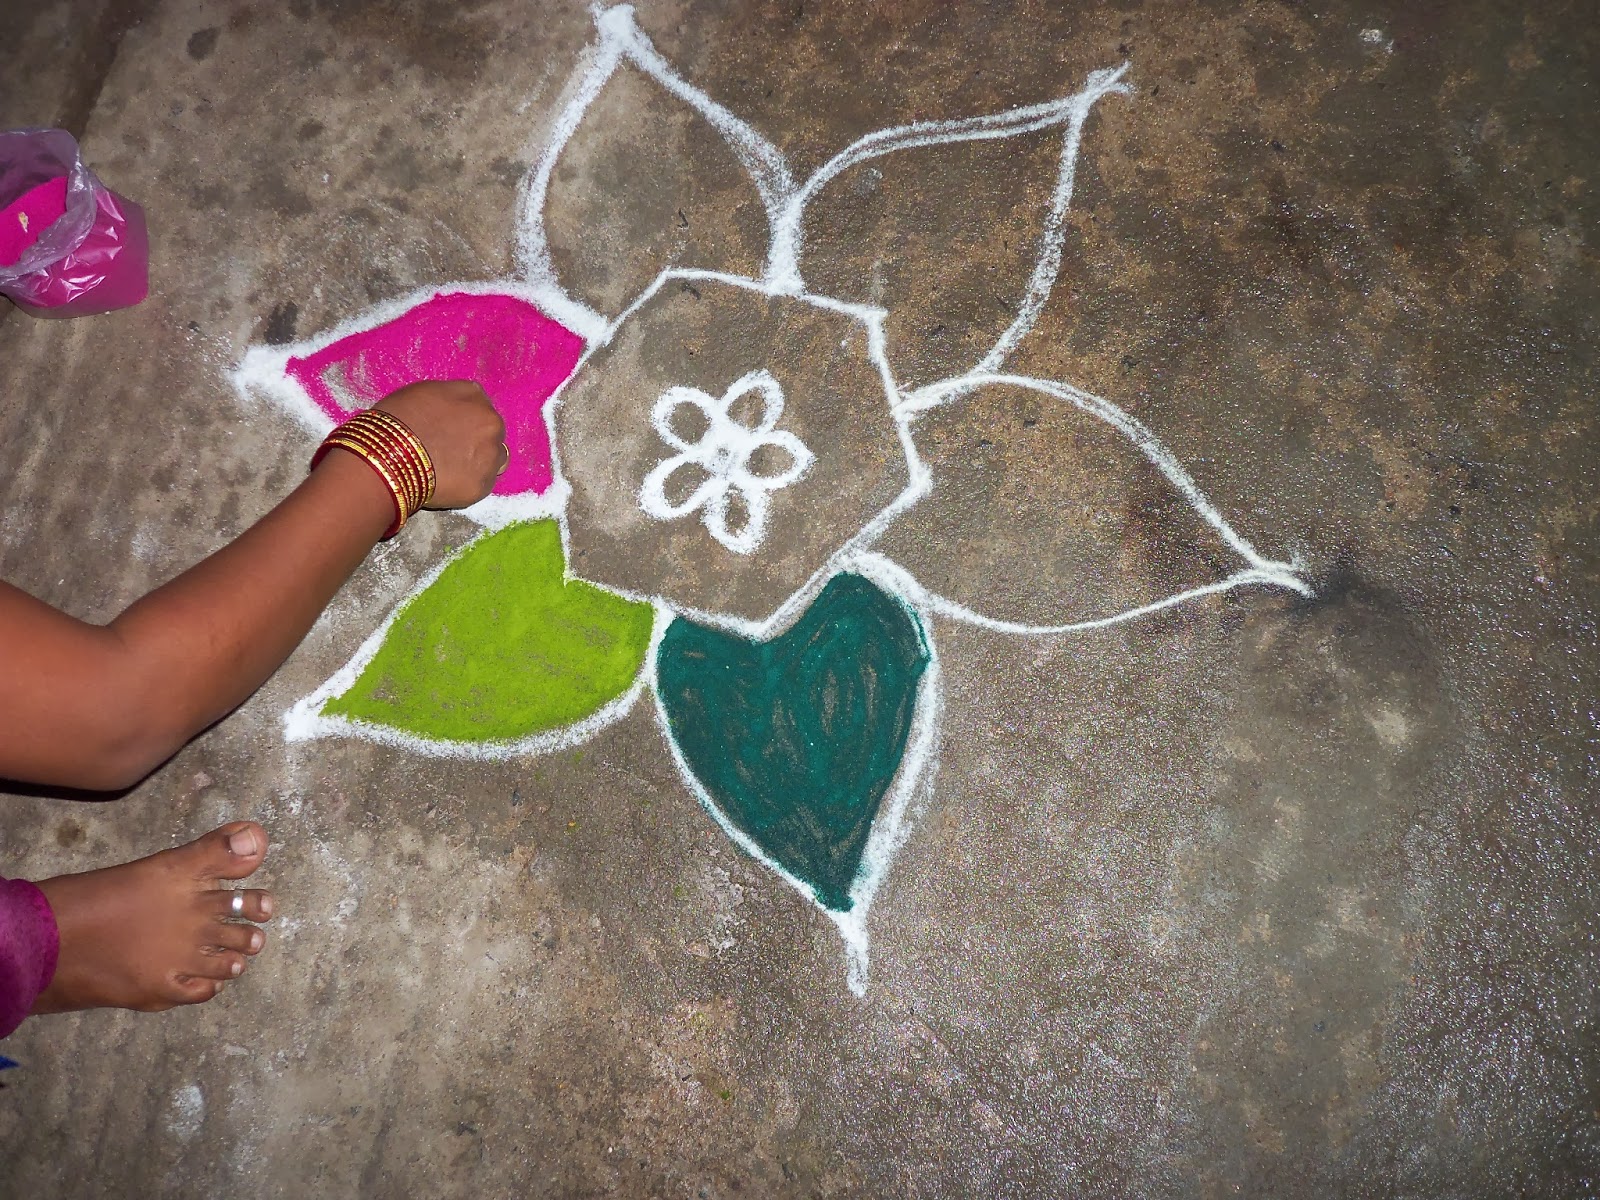
A Simple outline can be drawn on the place selected for drawing the Kolam. Here we can see a simple flower outline is drawn.The Flour is pinched between Index and Thumb finger and spread evenly by sliding the thumb over index finger. Here a small circle is drawn with oval shaped drawings over it. A polygon surrounds this small flower. The polygon again can be extended with flower petal shapes. Now spread the color powder or flour inside this petals slowly and steadily. Use different colors for each petals.
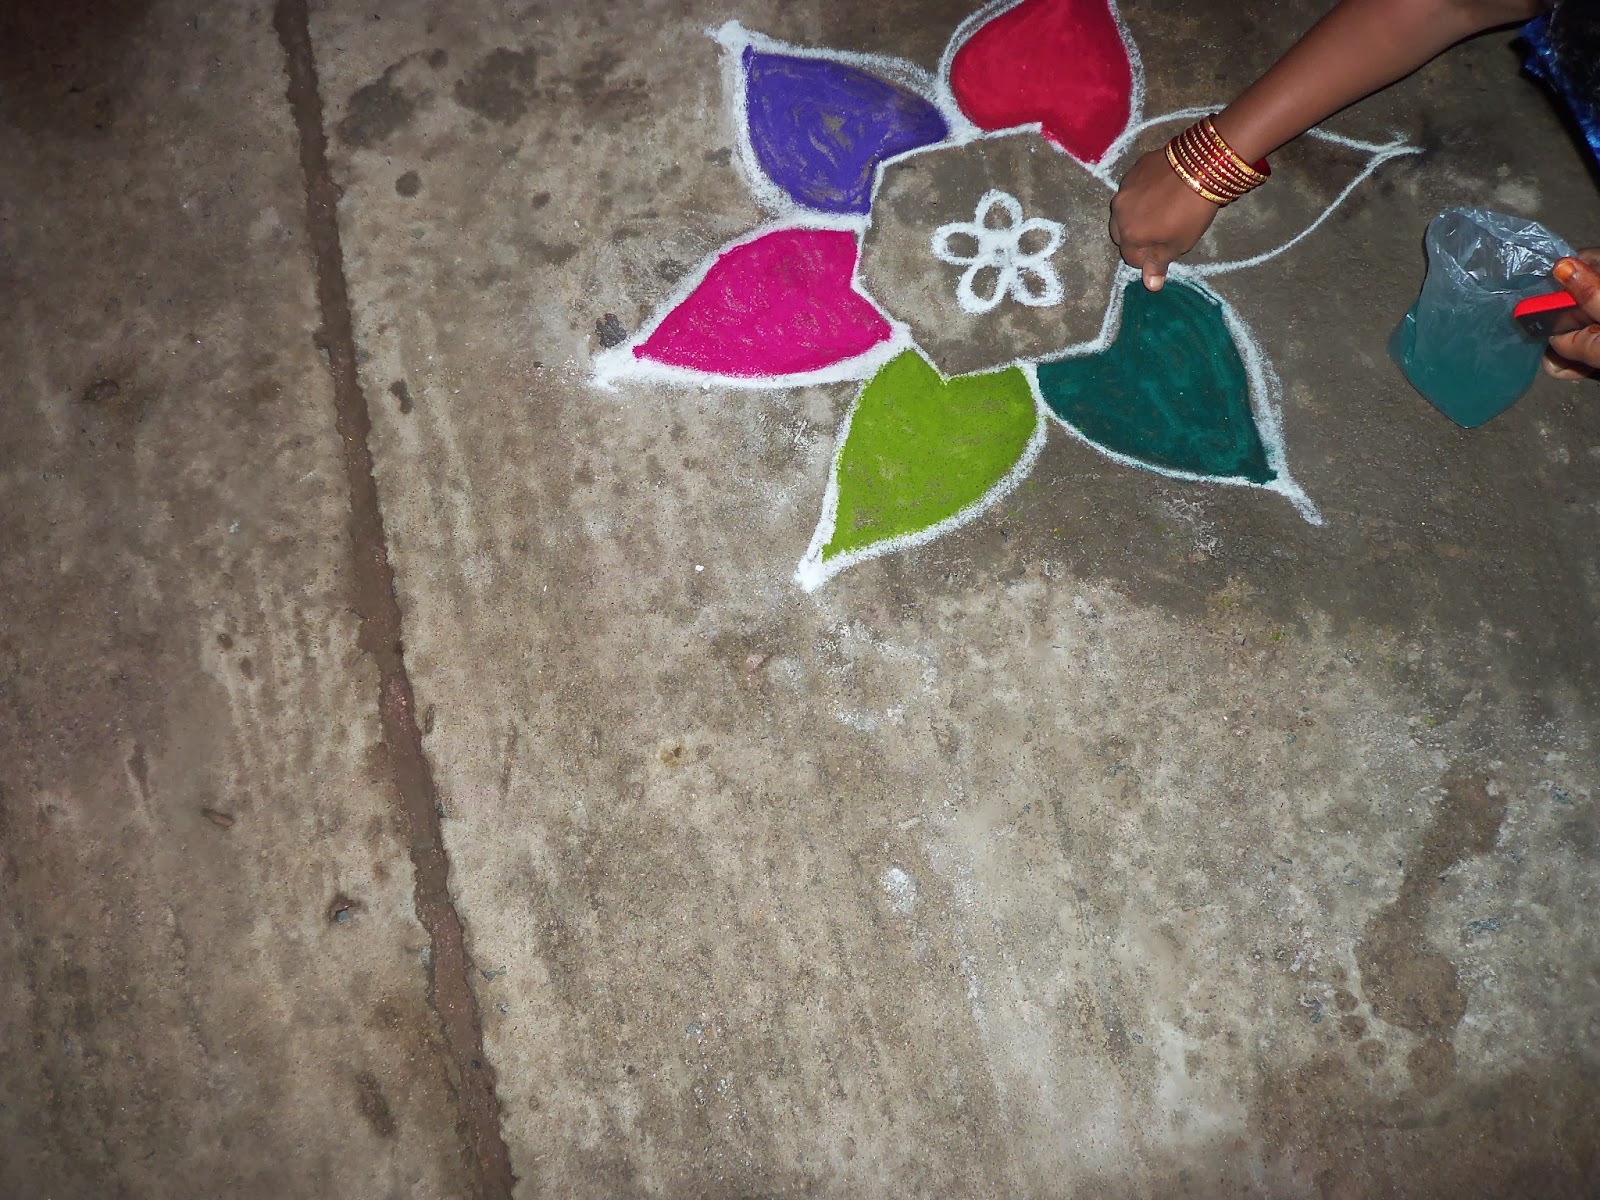
Now we can proceed further with adding parallel lines or curves and marking white flour markings over colored area. It provides a good contrast to colored area.
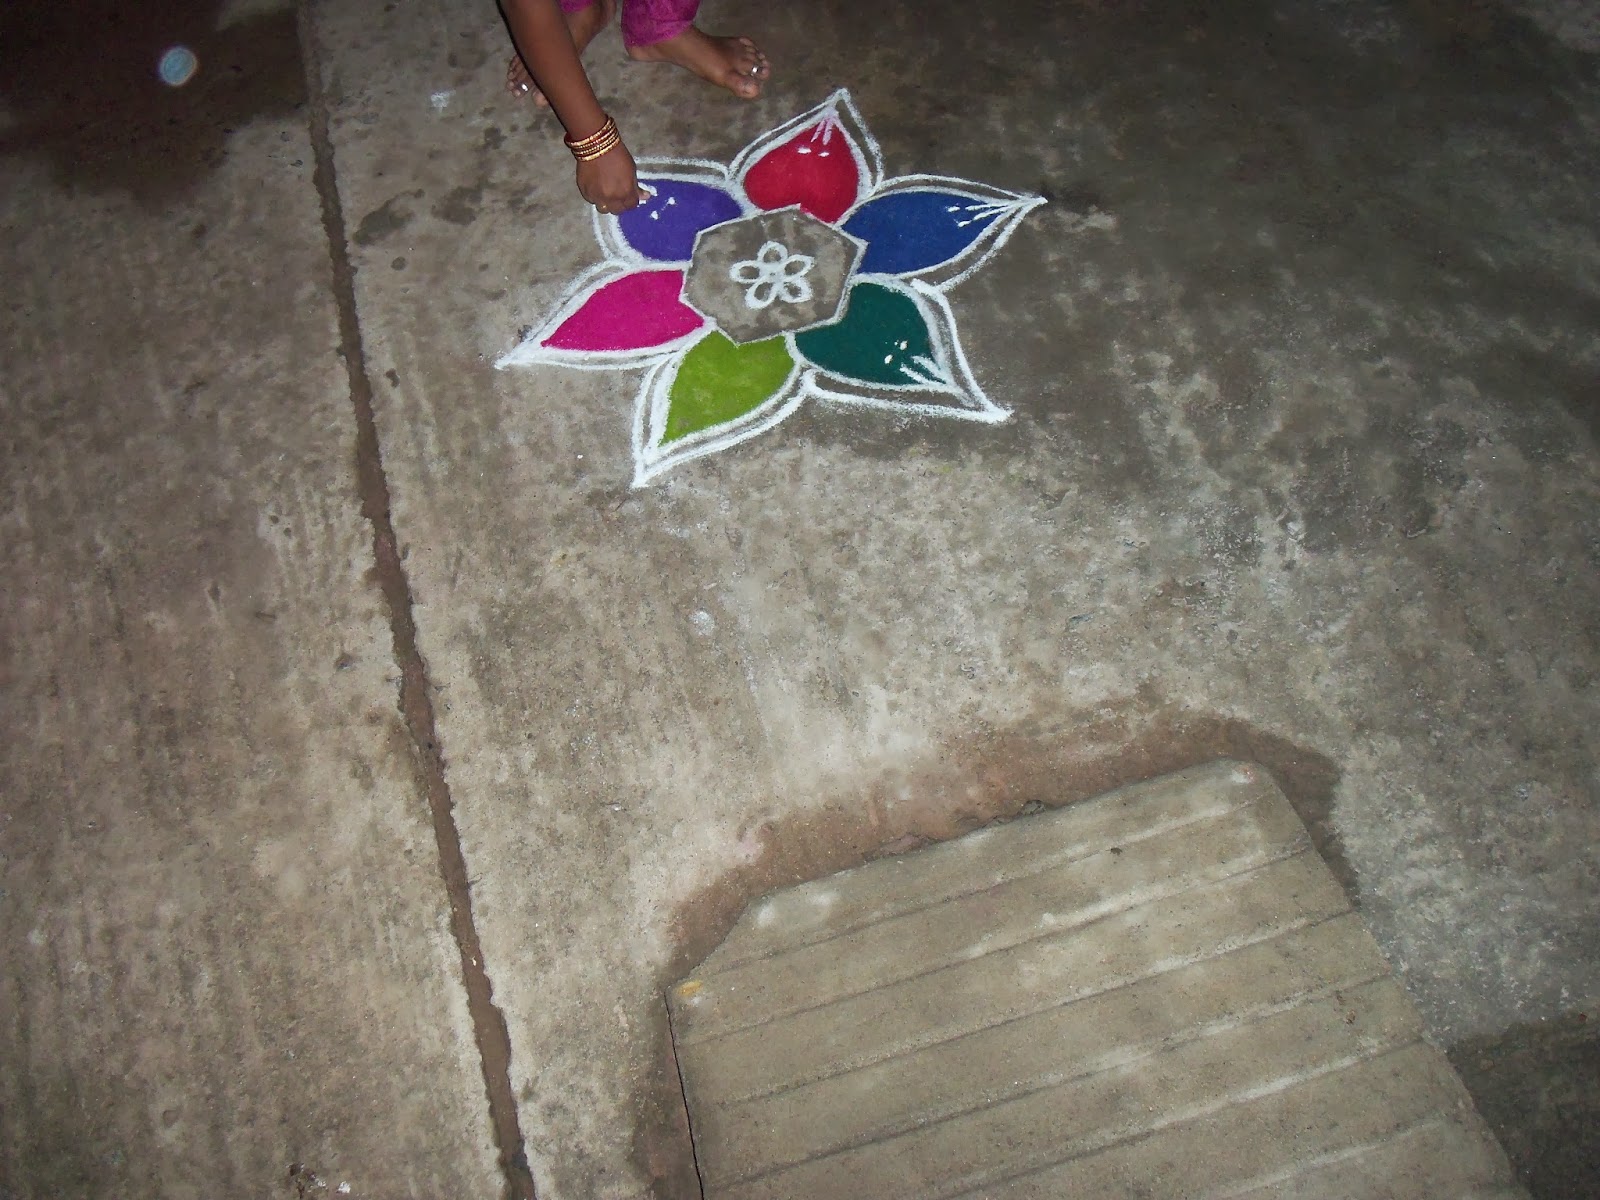
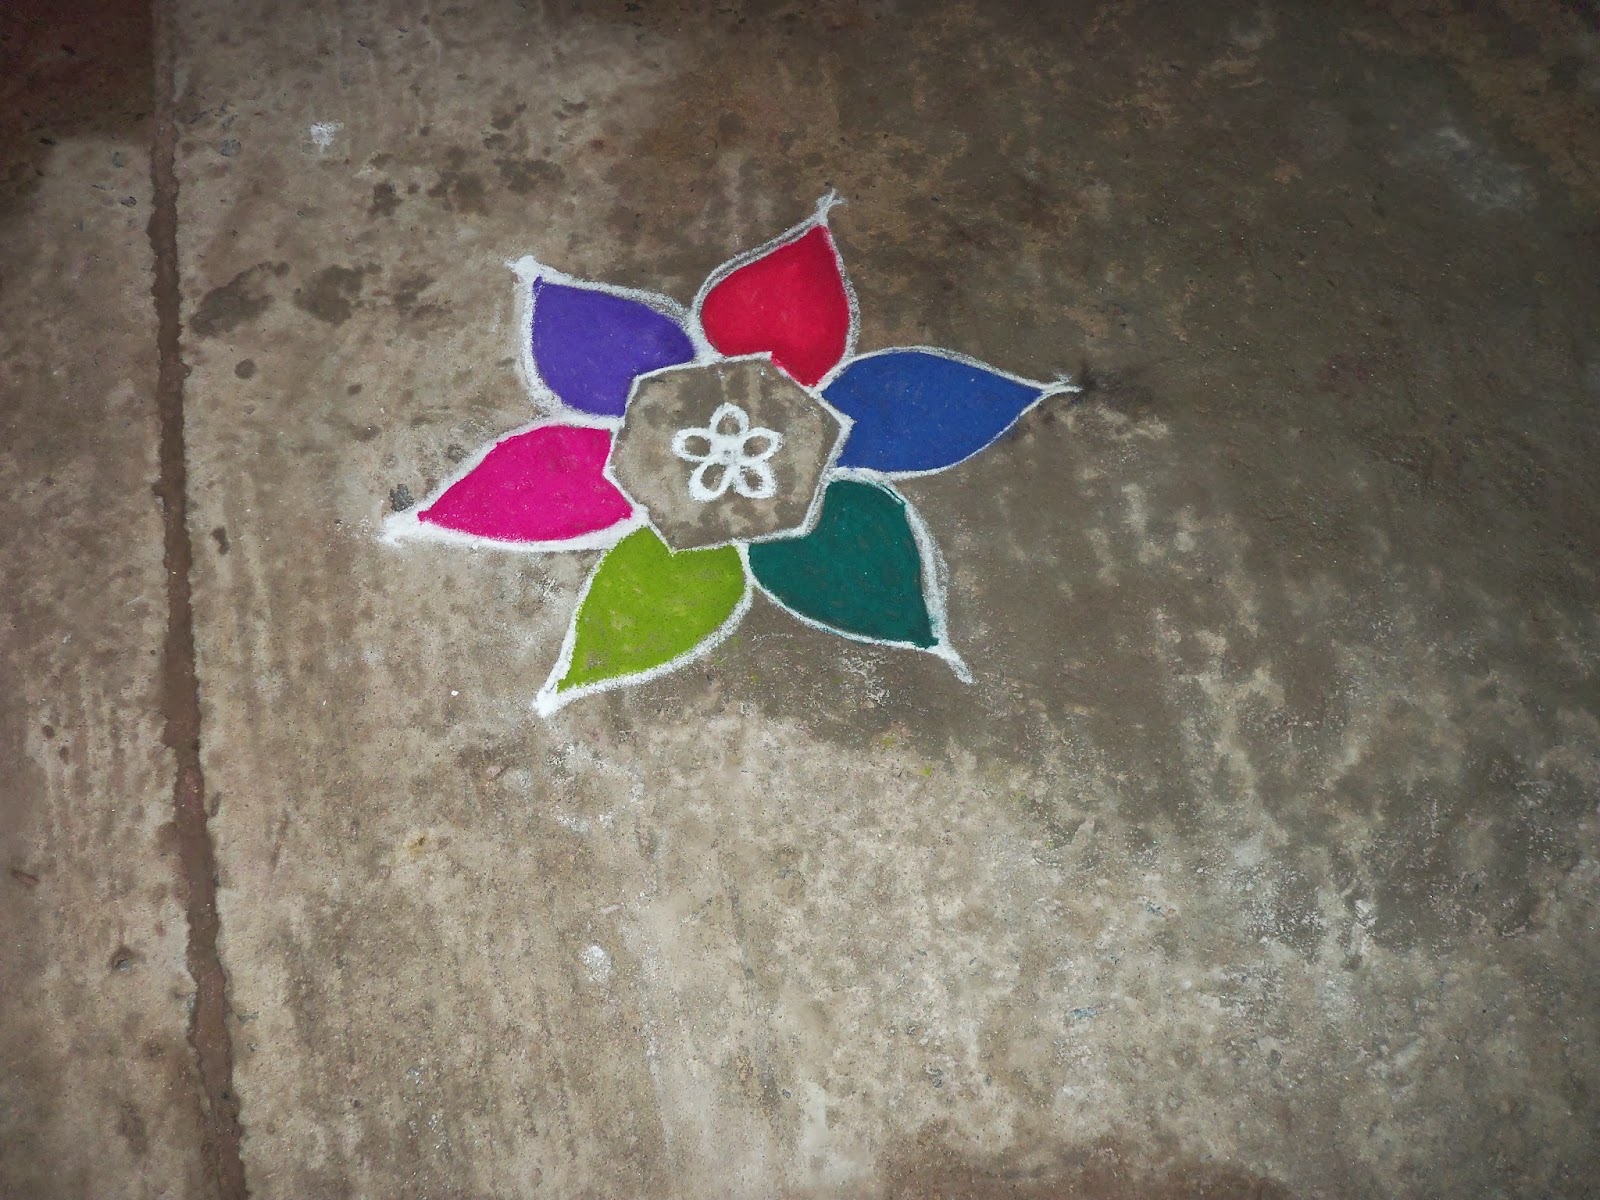
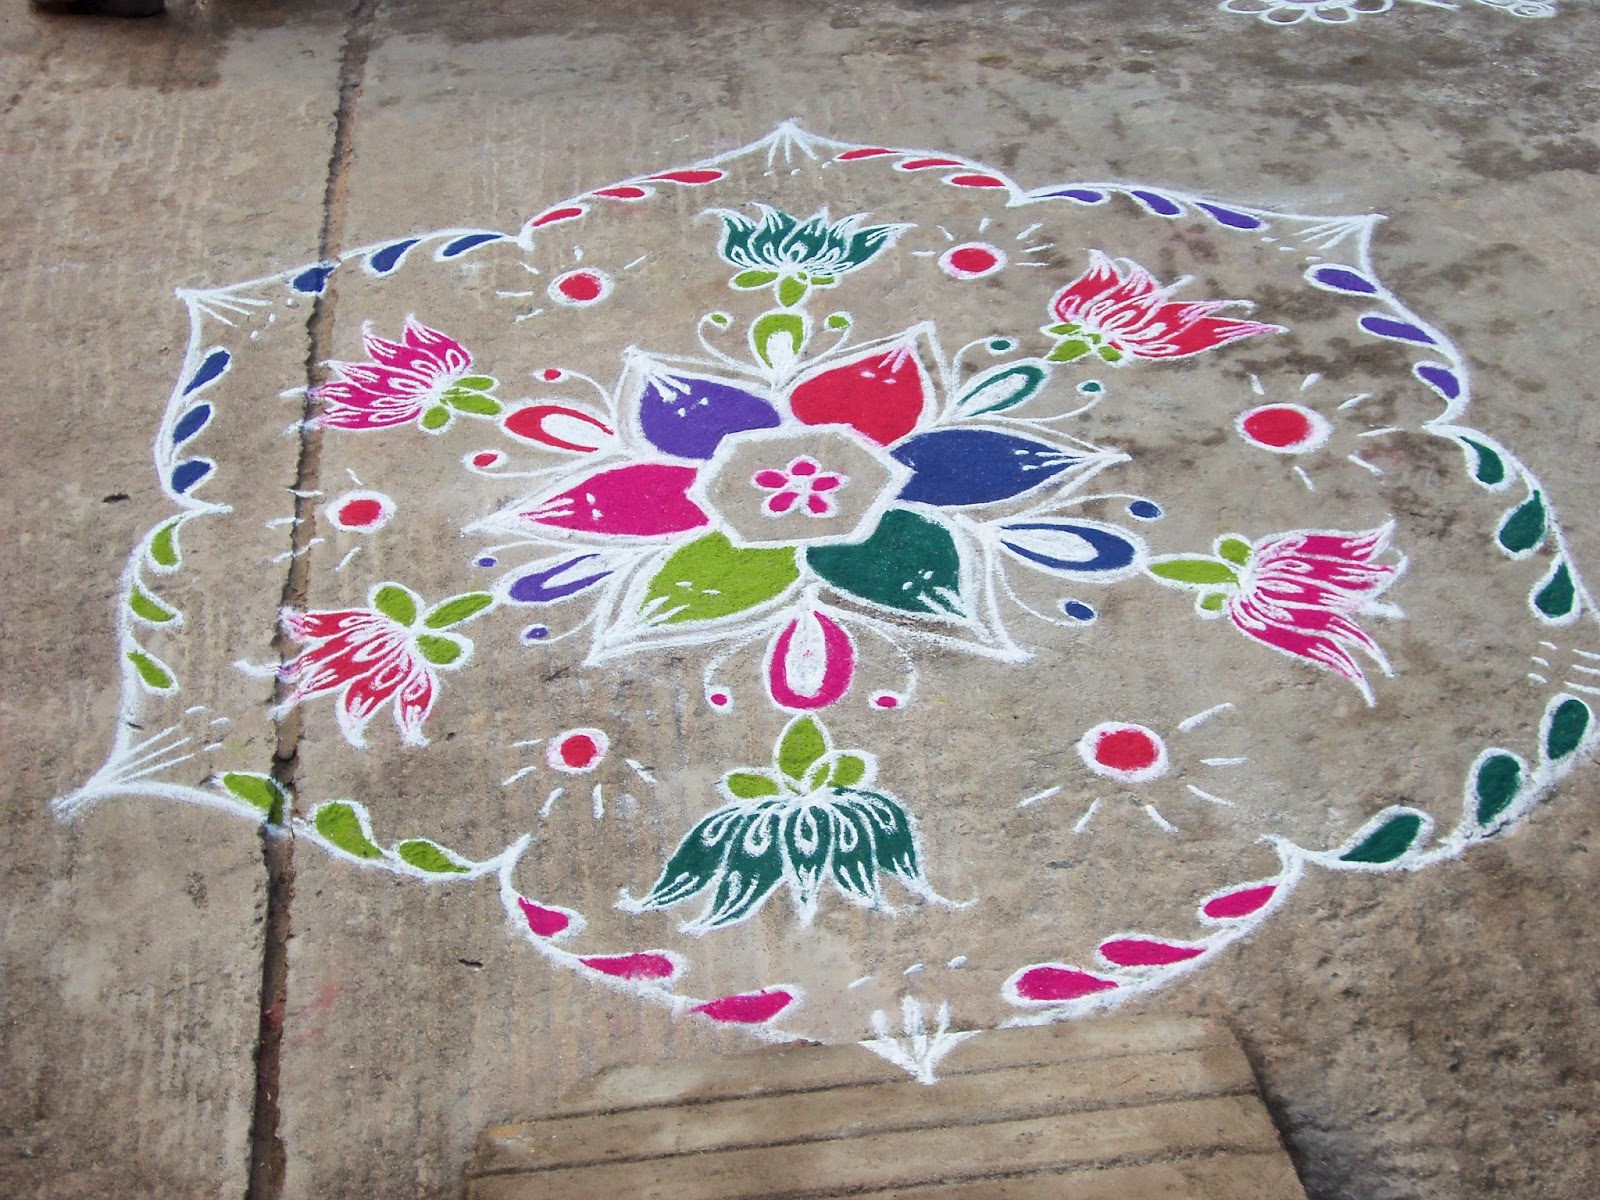
Now complete the Kolam with drawing a lotus shape between petals with arcs, curves and antenna shapes. Color it with desired colors and give an outline with white color flour to add some perfection. Between the open space draw a circle and color it. Draw few lines over it which predicts a bright light. Finally enclose this arrangements with a leafy like outline and drawing curves inside this structure. The closed curves can be colored too. Now a beautiful Kolam is drawn and can be given final touching, to see a smile face on any one who sees the Kolam.


1 comment:
Beautiful pongal kolam designs and well explained step by steps thanks for your cute collection
Post a Comment